
The Hardware and Software I Use in My Home Lab
Just like the environments we work with in datacenters and clouds, a homelab can consist of a variety of hardware, software, configurations, interdependencies, and integrations. This is a description of MY homelab, which is to say, you might not want or need the hardware and software configuration I use. If your purposes are similar to mine, feel free to use this for inspiration.
The purposes for my lab
As a solution architect for a large tech company, I spend a fair amount of my time designing solutions for customers, learning about new features in our products, testing new integrations between our products and 3rd parties, and building demonstrations of technology. All of this is in an effort to earn business from our customers.
I won’t beat around the bush. The primary reason I have a homelab is because it helps me earn more money. It does also raise my personal expenses, but as with the technology we use to enable businesses, the investment made into technology is an enabler for me to do my job better and more efficiently.
I do get asked fairly often if my employer provides any kind of lab environment which I can use, and the answer is yes, however that environment comes with some limitations. Having a homelab means I am only limited by the hardware, software, and configuration I choose to enable. Let’s get into what the current iteration of my lab looks like.
The Lab
My original intent was to split this into multiple posts, with one covering the hardware and at least one more covering the software. After some thought, I decided that I will do a post which essentially does a rundown of my lab hardware and basics of the software in one go, then I will do subsequent, detailed posts about how I have things configured and integrated.
Networking
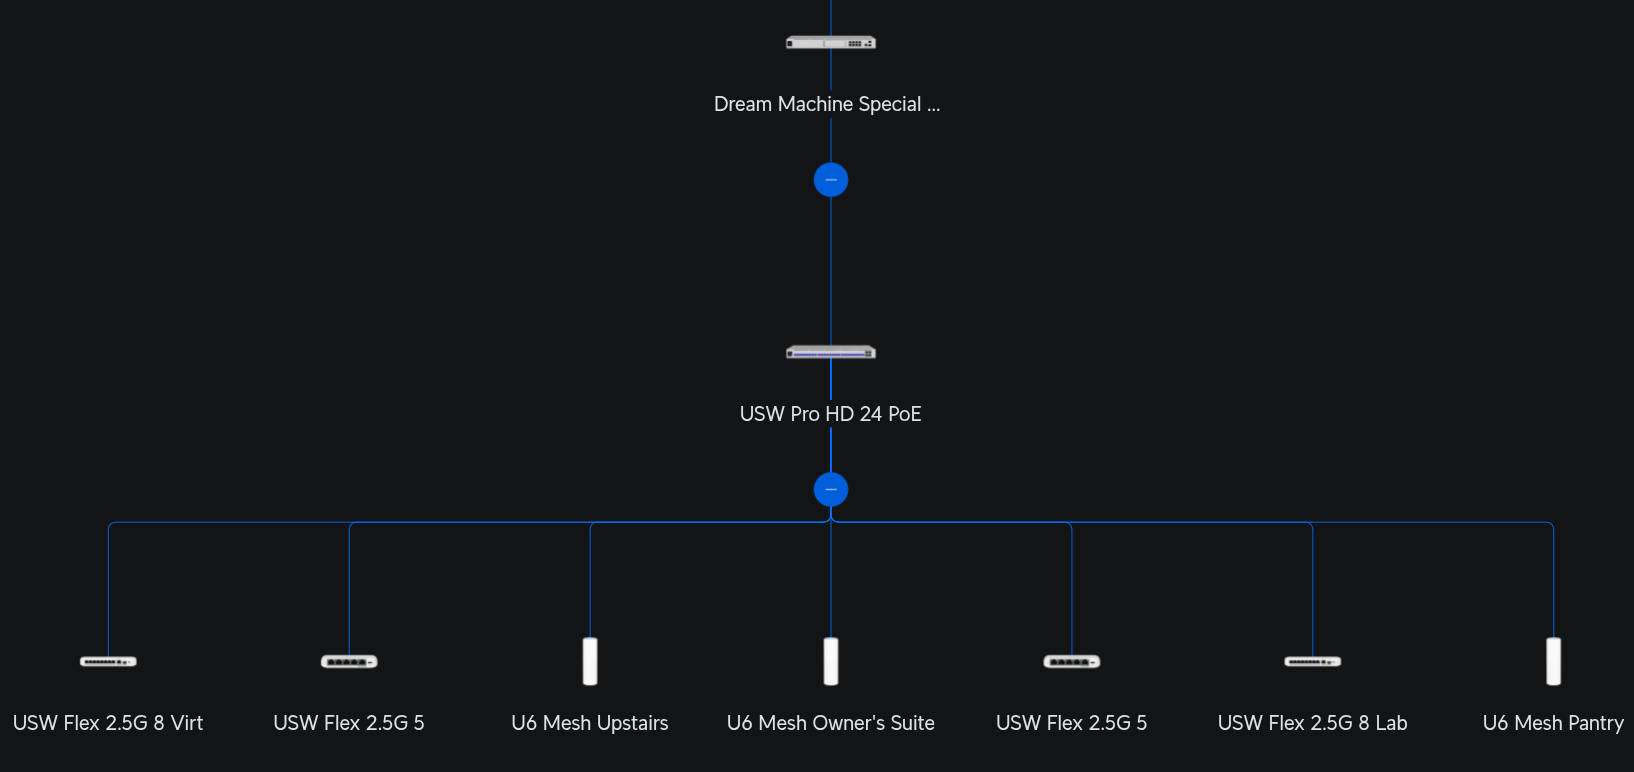
Under the covers of all of the lab hardware is a fairly robust network. My lab network and home network are shared, all running on Ubiquiti Unifi. It is expensive and complex for a home network, however it provides excellent capabilities for a network which includes a homelab. The Unifi system allows me to segregate my network into VLANs/subnets and place firewalls between my Home, IoT, Lab, and Virtualization networks. It also allows me to specify DNS servers for each separate VLAN/subnet which is especially helpful for a homelab, and it includes an Intrusion Detection and Prevention system which helps with security. The hardware includes a gateway, several switches, and several wireless access points. Look for a post about my network configuration in the future. For now, here’s the basic network topology.
Lab Core
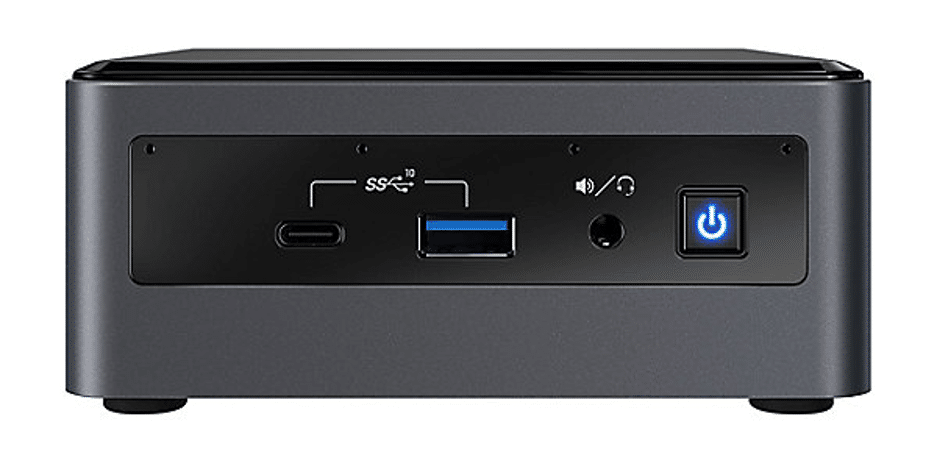
The “core” of my lab is an Intel NUC 10 NUC10i7FNH. Intel launched the NUC 10 in Q4 of 2019…so this system is a bit dated, but it still works quite well for my purposes. I opted for the barebones version and populated the RAM and Storage myself. Here are some basic specifications:
- CPU: Intel(R) Core(TM) i7-10710U
- 6 Cores with HT (12 logical) and 25W TDP (low power consumption)
- RAM: 2x 32 GB Samsung DDR4-2666 SO-DIMMs (total of 64 GB)
- Networking:
- Wired: Intel i219-V GbE NIC
- Wireless: Intel Wi-Fi 6 AX201
- Boot Disk: 500 GB Samsung SSD 980
- Secondary Disk: 2 TB Samsung SSD 860
- Dimensions: 117 x 112 x 51mm / 4.6 x 4.4 x 2.0in
So what do I mean when I say this is my lab core? This machine provides the core services which are consumed by every other part of the lab. It provides DNS, IDM/LDAP, software mirroring, and acts as a Servicenow Mid Server. The base operating system is Red Hat Enterprise Linux Server 10, and it has the Virtualization Host package group installed, so it acts as a standalone virtualization host based on libvirt and qemu. I have configured a bridge network so the VM guests act as if they are on the wired network instead of using NAT to access them. Here is a list of the virtual machines currently running on my lab core, the OS they run, their purpose, and the software I use to achieve that purpose:
- idm01.bk.lab
- OS: Red Hat Enterprise Linux 10
- Purpose: Identity Management and DNS (Primary)
- Software: Red Hat Identity Management
- idm02.bk.lab
- OS: Red Hat Enterprise Linux 10
- Purpose: Identity Management and DNS (Secondary)
- Software: Red Hat Identity Management
- midserver.bk.lab
- OS: Red Hat Enterprise Linux 9
- Purpose: Servicenow Mid Server
- Software: Servicenow Mid Server
- satellite.bk.lab
- OS: Red Hat Enterprise Linux 9
- Purpose: Software Mirroring, Patching, Configuration
- Software: Red Hat Satellite
- workstation.bk.lab
- OS: Red Hat Enterprise Linux 9
- Purpose: Development and Management Workstation
- Software: Ansible Development Tools, VS Code, OpenShift Client
This one piece of hardware serves multiple purposes. In fact, I used to run my entire lab on this one machine. The best part about a Mini PC like a NUC is the low power consumption coupled with a decent amount of computing power. This machine is nearly 6 years old, but still provides the services I need for my lab. I will likely replace it at some point, and I really like the NUC form factor and convenience. Unfortunately Intel stopped manufacturing their NUC line of Mini PCs and boards. This isn’t really a problem, however, as there are quite a few excellent options for Mini PCs.
Kubernetes Cluster
If you haven’t explored the world of containerization and orchestration of container workloads, I highly recommend you at least become familiar. With the advent of container-native virtualization, Kubernetes is quickly becoming a core component of many datacenters. Many people won’t need or want to run a full Kubernetes cluster in their homelab. Even I don’t specifically NEED to have a cluster in my lab, however my career path and interactions with customers pushed me in that direction.
Kubernetes is a cluster of computers which are interconnected to work as a single unit or platform. The cluster is comprised of a control plane, which coordinates activity in the cluster, and nodes or workers, which run logical groups of containerized workloads called pods. Pods encapsulate one or more containers, storage resources, a unique IP address, and options which control how the container(s) should run. Here’s a basic diagram of what a Kubernetes cluster might look like:

Installing a Kubernetes cluster isn’t for the faint of heart, especially if you decide to DIY. I chose an easier option, which is Red Hat OpenShift Container Platform. Other than being a platform I am well versed in, the installation of OpenShift is a breeze when using the Assisted Installer or Installer Provisioned Infrastructure installation methods. Beyond methods, there are mulitple installation topology options for OpenShift, including SNO or Single-Node Openshift which runs all of the platform on one host, a Compact Cluster which is a 3-node cluster combining the master/control plane and worker nodes, or traditional 5+ node clusters with separate masters and workers. Any of these topologies can run on bare metal, virtual machines, or a hyperscaler.
I chose bare metal for my cluster for a few reasons. First and foremost, bare metal is required to enable virtualization. I also wanted a cluster which is performant when I need it to be, has the option to use local storage, and has high-speed networking available. These things can be achieved in a hyperscaler or with virtualization as well, but bare metal fit the bill for me.
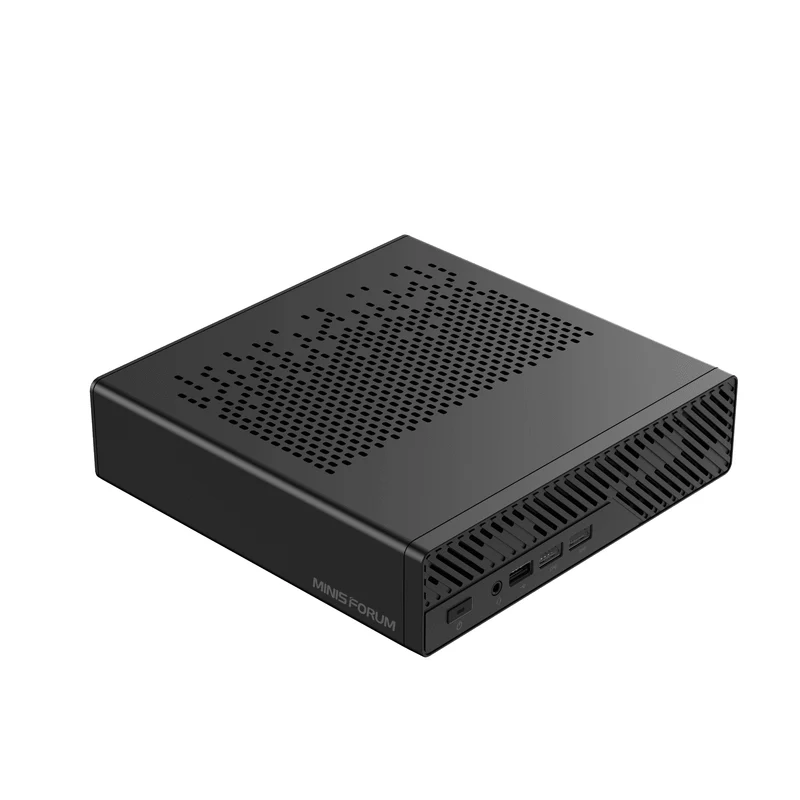
My cluster started life as a 3-node compact cluster. The hardware for these 3 machines is identical. Each one is a MinisForum MS-A1 mini workstation. MinisForum launched the MS-A1 in July of 2024 so unlike the Intel NUC which is my lab core, these machines are quite new. Similarly to the NUC, I opted to buy the barebones model. One advantage to the MS-A1 is it uses the AMD AM5 socket and it’s barebones model ships without a CPU, RAM, or Storage, so I was able to choose all of them. Here are the specs:
- CPU: AMD Ryzen(TM) 7 9700X
- 8 Cores with HT (16 logical) and 65W TDP (low power consumption)
- RAM: 2x 32 GB Crucial DDR5-5600 SO-DIMMs (total of 64 GB)
- Networking:
- Wired: 2x Realtek RTL8125 2.5GbE NIC
- Wireless: Intel Wi-Fi 6E AX210
- Boot Disk: 256GiB Inland TN320 NVMe SSD
- Secondary Disks: 2x 1TiB Inland TN320 NVMe SSD (total of 2TiB)
- Dimensions: 189.5 x 186 x 48mm / 7.5 x 7.3 x 1.9in
On top of OpenShift Container Platform, I have also opted to install several useful Operators which aid in configuration of some of the necessary components to make a Kubernetes/OpenShift cluster operational. These include the Local Storage operator, OpenShift Data Foundation, the Kubernetes NMState Operator, and OpenShift Virtualization to name a few.
**EDIT** After I published this article, I realized I said NOTHING about Ansible Automation Platform, where it runs in my lab, or which installation paradigm I use. Long story short, because I have an OpenShift cluster, I am able to use the Ansible Automation Platform Operator as my primary AAP instance. I do also test the RPM and Podman Container install and upgrade methods when necessary.
Kubernetes Cluster Expansion
As mentioned earlier, my Kubernetes cluster started life as a Compact Cluster, which did well for some time. As I started adding more and more workloads it became obvious that I needed to expand the cluster. Luckily, with the OpenShift Assisted Installer it is fairly trivial to add more nodes to an existing cluster.
I opted to add two additional machines to the cluster, however these are not the same hardware spec as the original 3-node design. Just 9 months after MinisForum launched the MS-A1, they made the design BETTER and launched the MS-A2 Mini Workstation which was my choice for cluster expansion. The selling point, for me, was twice the CPU cores PLUS 10GbE networking! These were fully populated machines instead of barebones. Here are the specs:
- CPU: AMD Ryzen(TM) 9 9955HX
- 16 Cores with HT (32 logical) and 55W TDP (low power consumption)
- RAM: 2x 32 GB DDR5-5600 SO-DIMMs (total of 64 GB)
- Networking:
- Wired: 2x Realtek RTL8125 2.5GbE NIC AND 2x Intel X710 10GbE SFP+
- Wireless: Intel Wi-Fi 6E AX210
- Boot Disk: 1GiB Crucial P310 NVMe SSD
- Dimensions: 196 x 189 x 48mm / 7.7 x 7.4 x 1.9in
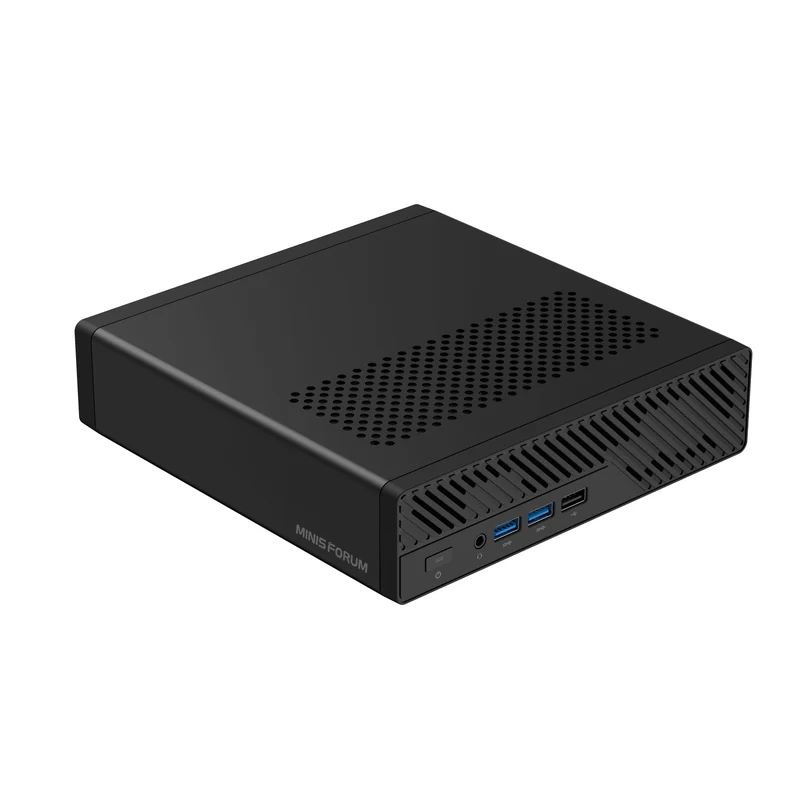
You’ll notice that these look nearly identical to the previous machines, and other than a very slight difference in length, only the internal hardware is different. In fact, hindsight being 20/20 I would have preferred to have 5 of the MS-A2 machines for my cluster instead. The 10GbE networking alone nearly makes it worth replacing the MS-A1 machines. Currently, however, my network does not support 10GbE for clients, so I would have to make changes there as well.
Cloud Providers
I’m including cloud providers as part of my homelab, even though they don’t reside in my home. I maintain an AWS account, which I use for temporary workloads and demonstrations of automations. I primarily use the EC2, Route 53, and S3 services from Amazon, but this could expand to others in the future. My consumption of cloud providers could expand to Azure or Google in the future as well, but for now I am only using Amazon as it is still the most widely used hyperscaler.
EC2, or Elastic Cloud Compute is a very common service. It provides virtual machines on demand running the operating system you choose. Every major OS including multiple versions of Windows, Several releases of MacOS, and the major distributions of Linux are available. You can select the CPU architecture you need, the number of vCPUs, the amount of memory, and the type and amount of storage you need. I use EC2 frequently for creating and destroying servers as part of demos of Ansible Automation Platform as both a standalone automation platform, and also AAP integrated with Hashicorp Terraform.
Route 53 is Amazon’s DNS service. It provides the capability to host DNS zones as well as manage registered domains. I use Route 53 as the custom DNS provider for this site…as well as for machines I create and destroy during demos.
S3, or Simple Storage Service, is an object storage service. It offers scalable storage which is presented as “buckets” which you could consider like a top-level folder. Those buckets are used to store “objects” which could be files such as photos, videos, or documents. My use case is mostly around Terraform state which I use for automation demonstrations.
I tend not to leave any EC2 machines up and running as this will incur extra cost. If you’re new to cloud providers, let this be the first tip I give you. Don’t leave anything running in the cloud. I made this mistake once and it cost me several hundred dollars. The bad part is I KNEW not to leave any services running, but I forgot and left several expensive EC2 instances running for nearly a month. Needless to say, I wasn’t very happy about that.
Coming Soon
That’s all for now! Look for upcoming posts on each of the components I talked about today, all of the Ansible things I do, and whatever else seems fun to write about.
–Brad